How to Replace a Heating Element in an Electric Water
How to Replace a Heating Element in an Electric Water Heater
If your electric water heater isn’t heating water properly, runs out of hot water quickly, or frequently trips the circuit breaker, one or both heating elements might be malfunctioning. Electric tank water heater elements typically last 10 to 15 years, while those in tankless water heaters can last around 20 years. Eventually, they may need replacement. Hiring a professional for this task can cost between $200 and $300. However, experienced homeowners can undertake this as a DIY project, which can cost between $10 and $60.
Here’s a step-by-step guide to replacing a malfunctioning water heater element.
What is a Water Heater Element?
A water heater element heats the water inside the tank. It has a threaded head, typically black, blue, or silver, made of copper or stainless steel. The element screws into the heater with a gasket creating a seal between the head and the heater.
Electric water heaters, unlike gas heaters, use upper and lower metal heating elements to heat water. These elements extend horizontally through the tank and are accessed via a cover panel on the side.
Each element is controlled by a separate thermostat. Failure of any component can lead to lower water temperature or reduced hot water availability.
Before You Begin
Replacing a heating element is an advanced project requiring mechanical skills and knowledge of electrical wiring. It involves three main stages:
- Testing the heating element
- Removing the old heating element
- Installing a new heating element
How to Test a Heating Element
- Turn off the Power: Turn off the power at the main panel by switching off the circuit breaker or removing the fuse controlling the water heater.
- Cool the Water: Wait for the water in the tank to cool, which can take two hours or more. This is crucial as the thermostats control the heating elements based on water temperature.
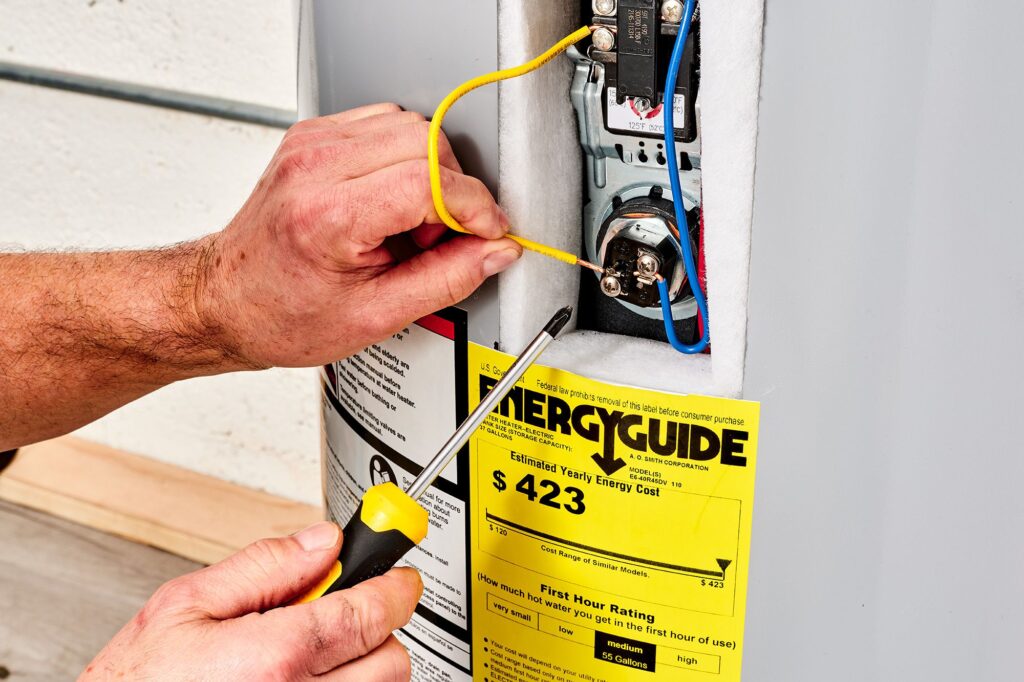
- Expose the Heating Element: Remove the access cover panel and insulation to expose the heating element terminal block. Use a non-contact circuit tester to ensure the power is off. Loosen the screws holding the wires to the terminal screws and disconnect the wires.
- Test the Heating Element: Set a multimeter to the OHMs (continuity) setting. Connect the red lead to one screw terminal and the black lead to the other. A reading of 0 ohms or infinity indicates a faulty element that needs replacement. If you get a resistance value, the element is fine, and the issue may lie elsewhere.
How to Remove a Heating Element
- Turn off the Power and Water: Ensure the power is off. Turn off the cold water supply valve above the heater.
- Expose the Heating Element: Remove the access cover panel and insulation. If necessary, remove the thermostat cover. Loosen the screws holding the wires to the terminal screws and disconnect the wires.
- Drain the Water Heater: Attach a garden hose to the drain spigot and drain the tank.
- Remove the Heating Element: For screw-in elements, use a ratchet wrench and 1 1/2-inch socket to turn the element counterclockwise. For flange-type elements, remove the four screws and gasket, then extract the element.
How to Install a New Heating Element
- Check Specifications: Ensure the replacement element matches the voltage and wattage ratings of your heater.
- Insert the New Heating Element: Clean the area where the gasket attaches. Position the new gasket on the element and insert it into the tank. Tighten a screw-in element clockwise with a socket wrench. For flange elements, secure the four mounting screws.
- Refill the Water Heater Tank: Close the drain valve. Open the cold water inlet valve and the nearest hot water faucet to purge excess air and sediment. Check for leaks around the element.
- Make Wire Connections: Attach the black and white circuit wires to the screw terminals, tightening them securely.
- Reassemble the Cover Plate: Replace the thermostat cover, tuck the insulation back, and reattach the access cover panel.
- Turn on Power and Test: Switch on the circuit breaker. Allow the water to heat for several hours and test the water temperature. Adjust the thermostat if necessary.
By following these steps, you can replace a faulty heating element and restore your water heater’s functionality.